Kituwa IT · Field guide
Try Linux Without Replacing Windows: A Safe Live USB Walkthrough
Test Linux Mint from a live USB before installing anything. Back up first, verify the ISO, write the USB, check Wi-Fi, audio and suspend, then decide.
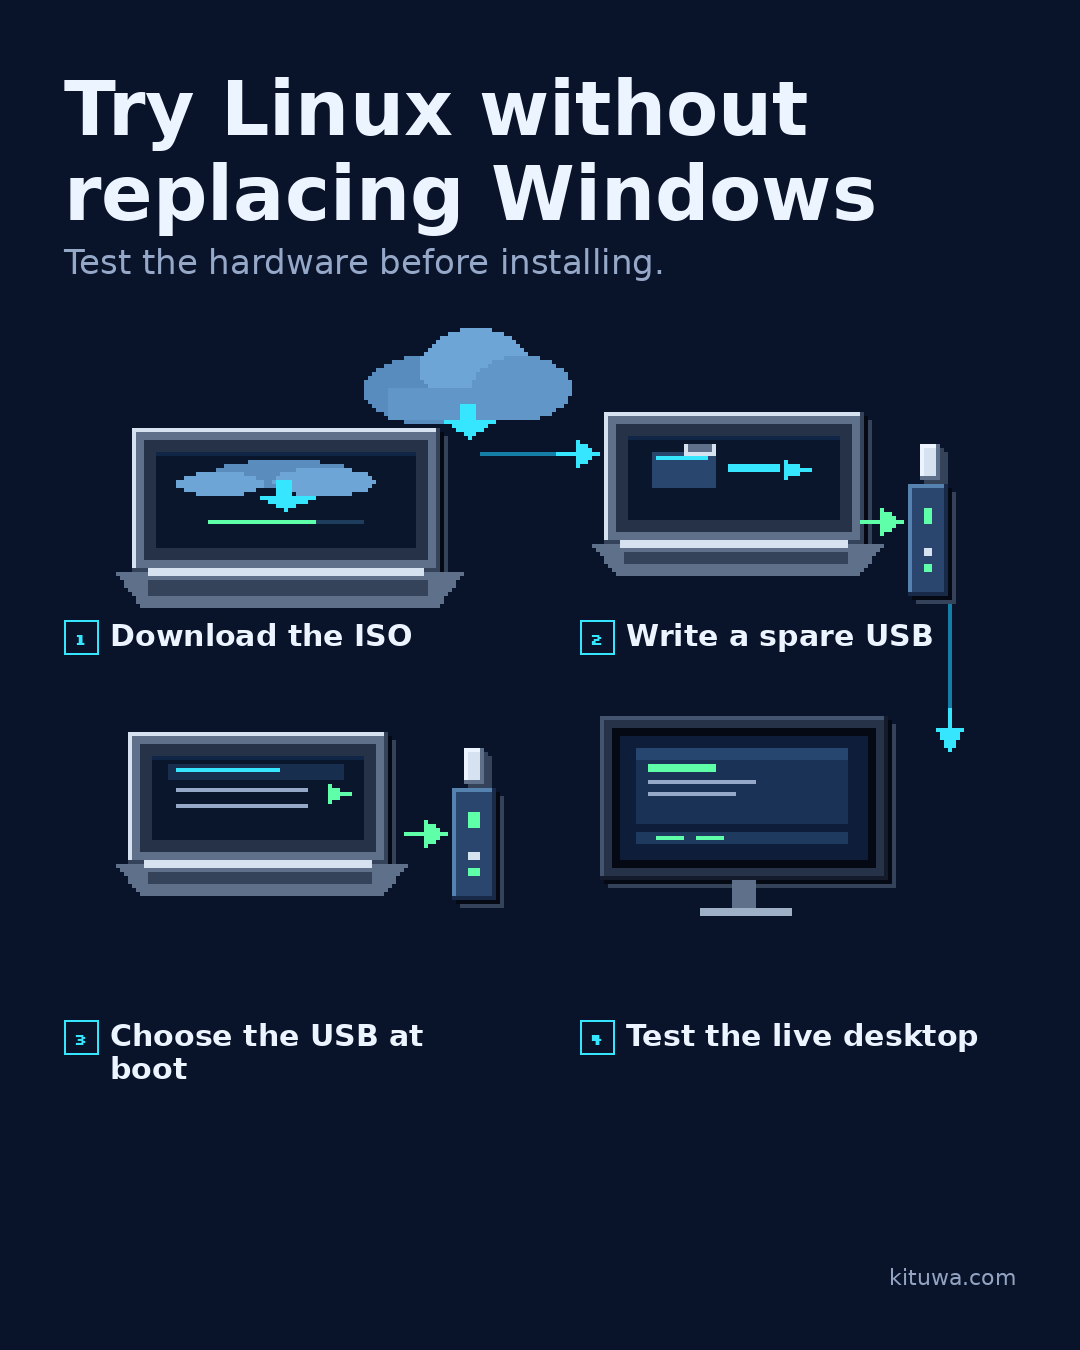
You do not have to erase Windows to find out whether Linux works on your computer. Linux Mint can start from a USB stick in a live session: a temporary desktop that runs without installing anything on the internal drive. That gives you a low-risk way to test Wi-Fi, audio, suspend, the touchpad, and the apps you actually use.
This walkthrough covers the full path: back up, download from the official source, verify the image, write a spare USB, boot it, test the hardware, and decide whether to install. It also explains the difference between a live session, a persistent USB, and a normal installation, because those are not the same thing.
The short version: test first, install later, and never skip the backup.
What a live session is — and what it is not
A live session is the operating system running from the USB stick instead of the internal disk. Linux Mint's official installation guide describes it as similar to a normal session, with three important differences:
- It is slower, because it is loaded from a USB stick or DVD instead of an SSD or hard drive.
- Changes you make are not permanent by default. They are not written to the USB stick, and they do not affect the installed system.
- Some applications behave differently or do not work at all in the live session. The guide specifically names Timeshift, Flatpak, Update Manager, and the Welcome Screen as examples.
That makes a live session a good hardware test and a poor place to do real work. Do not judge final performance from it, and do not expect files or settings to survive a reboot unless you have deliberately set up persistence.
Persistence is a separate configuration. Linux Mint's official installation guide does not document a standard persistence workflow, and a persistent live USB is still not the same as a normal installation. If you want a permanent system, install Linux Mint to a disk. If you only want to test, use the default live session.
What you need
- The computer you want to test.
- A spare USB flash drive. It will be completely erased. Use a drive larger than the ISO with room to spare; 8 GB is a common practical minimum, but check the current ISO size on the official download page.
- A reliable backup of anything you cannot lose.
- Access to the firmware boot menu or boot order settings.
- Linux Mint's official download and verification pages.
You do not need to repartition anything, disable Windows features, or open the computer case for a live-session test.
1. Back up before you touch anything
The live session itself should not write to your internal drive. Installation is a different story: it can erase or resize partitions, and a mistake at the disk-selection screen can destroy data. Back up first.
A backup is not just a copy sitting in the same folder. Ubuntu's official backup guidance recommends keeping copies on a separate device, deciding what to back up, how often, where the copies live, and how to restore them. At minimum:
- Copy important files to an external drive or another trusted location.
- Check that the copy contains the files you expect.
- Restore one expendable file into a new folder and open it.
- Keep the backup drive disconnected while you install.
If you use a cloud account for browser data, make sure it has synced before you start. If you use a password manager, confirm you can sign in on another device.
2. Download the right Linux Mint edition
Download only from the official Linux Mint site:
- Download page: https://linuxmint.com/download.php
- Mirrors: https://linuxmint.com/mirrors.php
Linux Mint publishes several editions. Cinnamon is the flagship desktop; MATE and Xfce are alternatives. Choose the edition that matches your hardware and preference, not a random mirror link from a search result. At the time of writing, Linux Mint 22.3 "Zena" is the current LTS line, supported until April 2029, but you should check the official download page for the current release and support window before downloading.
Save the ISO and the two checksum/signature files that the mirror provides:
sha256sum.txtsha256sum.txt.gpg
Do not copy the text out of a web page. Download the files themselves so the signature check is meaningful.
3. Verify the ISO before you write it
Verification has two parts. The integrity check confirms the download is complete and matches the file on the mirror. The authenticity check confirms the checksum file was signed by Linux Mint. Both are documented on the official verification page: https://linuxmint.com/verify.php.
Integrity check
From a terminal in the folder containing the ISO and sha256sum.txt:
sha256sum -b linuxmint-*.iso
Compare the output with the matching line in sha256sum.txt. If the values differ, download the ISO again. Do not "fix" the checksum file to match the download.
Authenticity check
Import the Linux Mint signing key and verify the signature. The exact commands and fingerprint are published in the official installation guide:
gpg --keyserver keyserver.ubuntu.com --recv-key "27DE B156 44C6 B3CF 3BD7  D291 300F 846B A25B AE09"
gpg --verify sha256sum.txt.gpg sha256sum.txt
A good signature tells you the checksum file came from Linux Mint. GPG may warn that the key is not marked as trusted locally; the official guide says this is expected. What matters is that the signature is good and the fingerprint matches the published value.
If you are already running Linux Mint, the guide also documents the built-in mint-iso-verify tool and the right-click Verify action.
4. Write the ISO to a spare USB drive
This step erases the entire USB drive. Confirm the drive letter or device name before you start, and unplug any other removable drives you do not want to touch.
Linux Mint's official guide documents two supported paths:
- In Linux Mint: right-click the ISO and choose Make Bootable USB Stick, or open Menu → Accessories → USB Image Writer, select the USB device, and click Write.
- In Windows, macOS, or another Linux distribution: download and install Etcher, select the ISO, select the USB drive, and click Flash.
Etcher and USB Image Writer are the beginner-safe options. If you use dd, you are responsible for identifying the correct whole device. A partition number is the wrong target. This command is destructive:
lsblk
sudo dd if=linuxmint-*.iso of=/dev/sdX bs=4M status=progress oflag=sync
Replace /dev/sdX with the whole USB device, not /dev/sdX1. If you cannot explain why that difference matters, use Etcher or USB Image Writer instead.
5. Boot from the USB
Insert the USB, restart the computer, and open the firmware boot menu. The exact key depends on the machine; Linux Mint's guide lists common options: Escape, F1, F2, F8, F10, F11, F12, or Delete. The key is usually shown briefly during startup.
On a Mac, hold Alt or Option after the boot sound. The Linux Mint ISO can boot in EFI or BIOS mode; the menu you see depends on the mode.
If the USB does not appear:
- Recheck the boot order in the firmware settings.
- Try another USB port, preferably a direct port rather than a hub.
- Confirm the ISO was written as a disk image, not copied as a file.
- Check the manufacturer's documentation for Secure Boot and firmware-specific boot options.
- If Secure Boot is part of the problem, change one setting at a time and understand the security trade-off before disabling anything permanently.
6. Test the hardware you actually use
Once the live desktop loads, test the things that would make or break the switch for you. The live session is temporary, so this is the right time to be nosy.
| Check | What to do | Why it matters |
|---|---|---|
| Wi-Fi | Connect to your normal network, load a page, disconnect and reconnect | Some wireless chips need drivers or firmware |
| Audio | Play a local file and a browser video; test speakers and headphones | Audio routing and codecs vary |
| Suspend | Suspend, wait, wake, and repeat once | Laptops can fail to resume cleanly |
| Touchpad | Tap, two-finger scroll, right-click, and disable tap-to-click if needed | Gesture support depends on the desktop and driver |
| Webcam and microphone | Open a video-call test page or a local app | Privacy and meeting hardware should work before you commit |
| Printer or scanner | Add the device and print a test page if you use one | Drivers and network discovery are common friction points |
| Essential apps | Open the browser, office suite, chat app, or development tools you need | The live session is a compatibility test, not a benchmark |
| Storage and sleep | Check that the drive and any external devices are detected | Confirms basic hardware support |
Do not install a driver or run a random script from a forum during the live test unless you understand what it changes. A live session is for observation first.
7. Live session vs installed system vs persistence
These three things are often confused:
- Live session: runs from the USB, is slower, and discards changes by default. Good for testing hardware and the desktop.
- Persistent live USB: a separately configured live system that saves some changes between boots. It is still not a normal installation, and it has limitations.
- Installed system: writes the operating system to an internal or external disk. Changes persist, performance is normal, and the bootloader is configured. This is the real migration step.
If your goal is to use Linux every day, test in the live session and then install. If your goal is only to rescue files or check hardware, the live session may be enough.
8. Decide what to do next
If the live session works well, read the official installation guide before you install:
- Installation guide: https://linuxmint-installation-guide.readthedocs.io/en/latest/install.html
The guide covers the live session, the installer, disk selection, and the restart. Two rules matter more than any version number:
- Back up first. The installer can erase or resize disks.
- Read the disk-selection screen. If you do not understand an option, stop and ask. "Erase disk" is not the same as "install alongside."
If the live session does not work, do not force an installation. Note the exact failure, check the official release notes and hardware documentation, and test another edition or a newer kernel only if you understand the trade-off. A failed live test is useful information, not a failure on your part.
Troubleshooting quick reference
| Symptom | First checks |
|---|---|
| USB not listed in boot menu | Boot order, direct USB port, image written as a disk image, firmware documentation |
| Checksum mismatch | Re-download the ISO and the checksum files from an official mirror |
| GPG warning about trust | Confirm the signature is good and the fingerprint matches the official value; local trust is a separate setting |
| Wi-Fi missing | Check whether the adapter is detected, try a direct connection, review the release notes for your hardware |
| No sound | Check output device selection, test headphones, confirm the live session sees the card |
| Suspend does not resume | Note the hardware model; do not install until you understand whether the issue is fixable |
| Installer cannot see a disk | Check firmware storage mode (RAID/Intel RST), backup first, and read the official guide before changing settings |
Pre-install checklist
- ☐ Important files copied to a separate device.
- ☐ One file restored and opened from the backup.
- ☐ ISO downloaded from the official site.
- ☐ SHA-256 checksum matches.
- ☐ GPG signature is good and the fingerprint matches.
- ☐ USB written with Etcher, USB Image Writer, or a verified
ddcommand. - ☐ Live session boots.
- ☐ Wi-Fi, audio, suspend, touchpad, and essential apps tested.
- ☐ Installation guide read before touching the disk.
- ☐ Backup drive disconnected during installation.
References
All links checked 2026-11-05.
- Linux Mint — Download: https://linuxmint.com/download.php
- Linux Mint — Verify your ISO image: https://linuxmint.com/verify.php
- Linux Mint Installation Guide — Verify your ISO: https://linuxmint-installation-guide.readthedocs.io/en/latest/verify.html
- Linux Mint Installation Guide — Create the bootable media: https://linuxmint-installation-guide.readthedocs.io/en/latest/burn.html
- Linux Mint Installation Guide — Boot Linux Mint: https://linuxmint-installation-guide.readthedocs.io/en/latest/boot.html
- Linux Mint Installation Guide — Install Linux Mint: https://linuxmint-installation-guide.readthedocs.io/en/latest/install.html
- Linux Mint — Supported releases: https://linuxmint.com/download_all.php
- Linux Mint — Mirrors: https://linuxmint.com/mirrors.php
- Etcher: https://etcher.balena.io/
- Ubuntu — Backups and restore planning: https://ubuntu.com/server/docs/how-to/backups
Need a second opinion before switching?
If you want help checking the hardware, planning the backup, or deciding between a live test and a full install, Kituwa can review the machine and the plan with you. Start with the free live-session test above; it is the cheapest diagnostic you can run.